
I had recently been thinking about what to do with my pantry door. I felt like it needed something. Using the word "Pantry" in vinyl letters came to mind but I've been using a lot of words around here and thought it was time for something else.
Here is the door I am talking about. It was a flat front, plain, wood door and we had already added trim and painted it white. But it still needed something....
 The basement door on the other side of the room already had a chalkboard on it so I didn't want to do that.....

Then I saw Linda's post about doors and the wheels started turning. I have seen those doors before in Country Home but forgot all about them!
 http://www.countryhome.com/
http://restyledhome.blogspot.com/2009/03/no-ordinary-door.html
I love the look and started looking for damask wallpaper online. Hmmmmmm....$30-$100 a roll for wallpaper and I only needed a small piece. I'm too cheap...errr....frugal and thrifty for that. Then I remembered I had a stencil sitting around here and leftover paint in the basement. So off we go! Here it is with a coat of the wall color on it.

This particular stencil I used is two pieces. You do the first part and then overlap the second one on top after the first has dried. I tried to think about how a wallpaper repeat would look and attempted to space it properly. Please don't show up at my door with a measuring tape and a level. I don't want to know how uneven it really is!

This particular stencil I used is two pieces. You do the first part and then overlap the second one on top after the first has dried. I tried to think about how a wallpaper repeat would look and attempted to space it properly. Please don't show up at my door with a measuring tape and a level. I don't want to know how uneven it really is!
If you are stenciling on cured paint, you can use stencil adhesive and painters tape to hold it in place. Since I'm really impatient and wanted to do this all the same day, I didn't use much so as not to mess up the freshly painted surface.

My old stool came in handy when I was stenciling the top of the door. That way I didn't have to let go of the stencil when I reloaded on paint.


My old stool came in handy when I was stenciling the top of the door. That way I didn't have to let go of the stencil when I reloaded on paint.

At this point my stencil was looking a bit funny. Look at this one eyed alien. Do you see his arms and legs? "Take me to your leader!!!"

Don't be afraid to change your stencil if it isn't exactly what you want. I decided to block off the flower dots with painters tape. Again, be sure to tape both sides so the sticky side doesn't pull your paint off.

Here is the first layer all done. At this point my arms were tired and I was thinking it looked fine without the second stencil. Then I realized I would have to live with all the little aliens staring at me with their one eye so I continued on.

A few hours later and here it is all done!


I'm really pleased with the look and best of all, it was free! The whole thing took me about 5 hours. Some tips for this project:
~ Wash your hands frequently. There were a couple times I put my paint smeared fingers where the stencil wasn't going and had to quick wash it off.
~ Don't worry about the edges too much. It wasn't easy to bend the stencil into the corners so I did the best I could. If you look closely, the pattern doesn't go exactly to where it meets the trim but that's okay!
~ Start in the middle and work your way out.
~ And of course, have fun with it! I put on some music and even let my 3 year old help. Some of the paint is a little smudgy but when it comes to home projects, I'm okay with "good enough."
Now that door handle is glaring at me. I may have to use the money I saved on wallpaper on some new, pretty doorknobs. :)


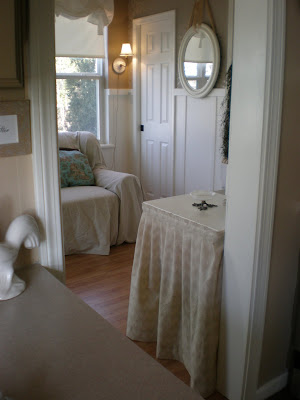


 The corkboard and shelf were sitting in my basement. A coat of paint for the shelf and some burlap to cover the corkboard and I was all set.


 The color on the floor would not have been my first choice in laminate but it was another freebie! My parents are installing hardwood in their home and offered us the old floor. We jumped on it!

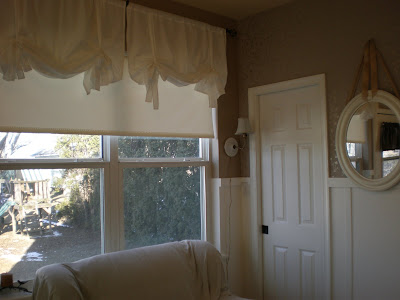

 At first I wasn't sure about the wallpaper as it has a metallic sheen to it. I contemplated taking it back but I'm so glad I didn't. Now that it's up, I really love it. My hubby did the wood trim himself. It was slats of poplar we found at Lowes and they went up easily!

 I did my best to blend the hideous air conditioner in the room as best I could. It isn't the prettiest thing but there are some things (like staying cool) that have to come before design!


 Here is a close up of the skirt I made for this table. It was a sewing table that I grabbed a few years back from the side of the road. It got a fresh coat of white paint and I made a pleated skirt for the bottom. It's attached with velcro so it can easily come off when needed to throw in the wash.
 Thanks for taking the tour of my room! I'm so glad this is done. Next up...our bedroom!